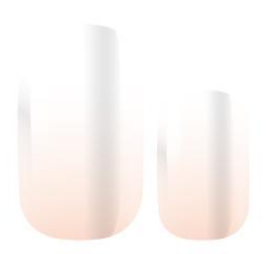
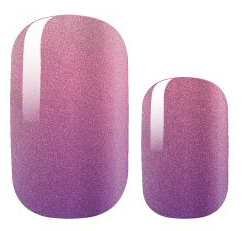
How To Apply our Nail Wraps ?
Our nail wraps provide the perfect manicure at home. These self-adhesive nail polish stickers don't require heat nor UV lamp to be applied. You can have gorgeous nails in minutes with just a few easy steps.
Let's get started!
Step 1: Start with clean hands. Remove any moisturizer, sunscreen, soap, or natural oils on your skin and nails that may prevent the wraps from sticking to your nails. You can quickly wash your hands or use an alcohol swab to clean your nails.
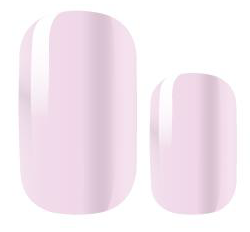
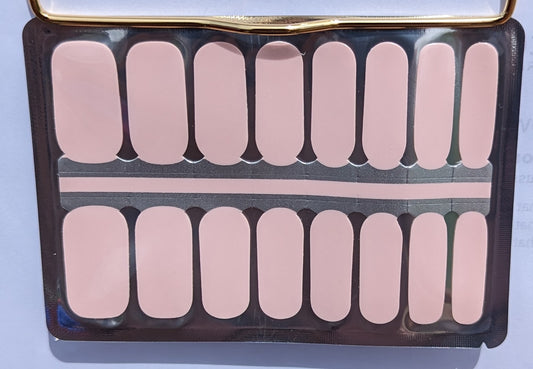
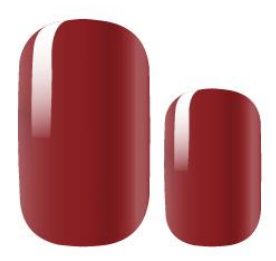
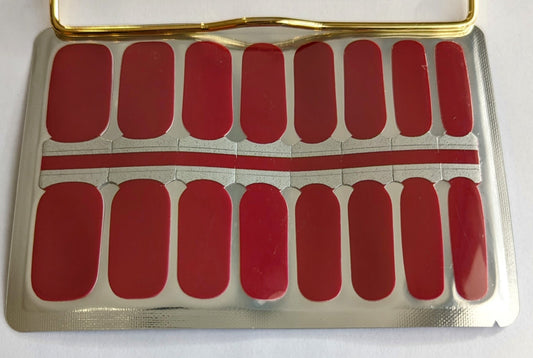
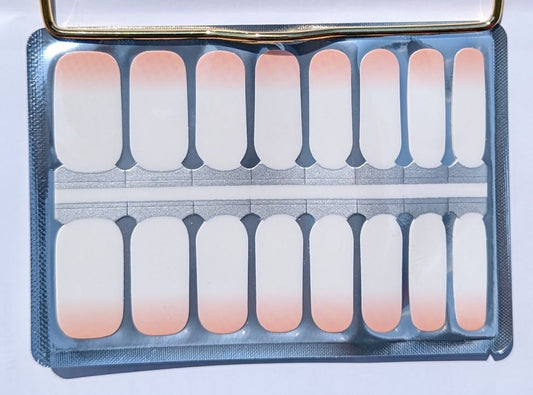
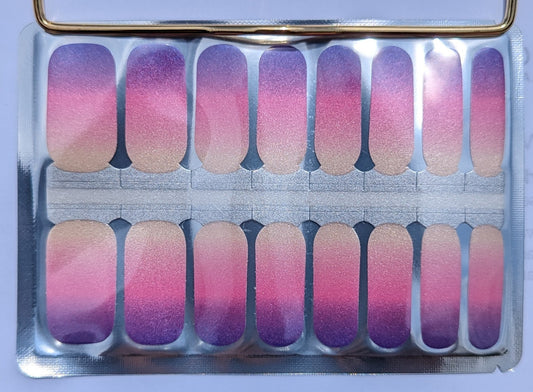
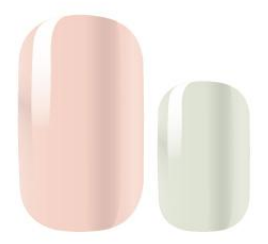
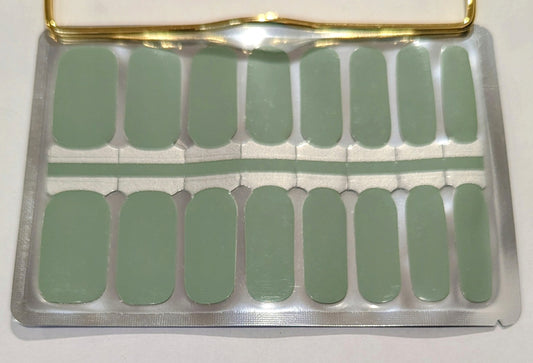
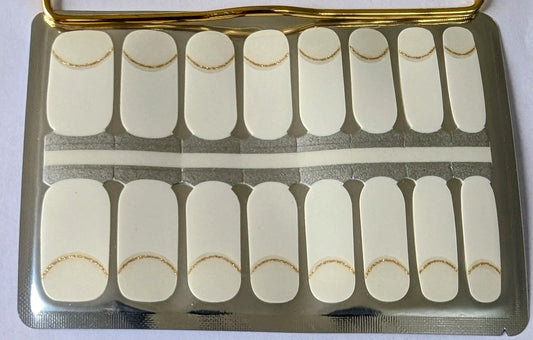
Step 2: Finding the right size for your nails can be a challenge. That's why we provide a minimum of 16 nail wraps per set in all of our orders, so you can find the perfect size for each nail.
Step 3: Peel off the clear, plastic cover on each nail wrap. This will reveal the nail wrap underneath. Apply the nail wrap onto your nail and smoothen it out by following the curve of your nail.
Step 4: Peel your chosen wrap from the top side. Avoid touching the adhesive to keep it as sticky as possible. Our wraps have a special technology that allows you to stick them down, pull them off, and reposition them on your nail.
Step 5: Align the bottom of the wrap at, but not on, your cuticle. Use a circular motion to press and smooth the wrap into place. Start at the cuticle, push down one side, then across the top of the nail, then back up the other side. Make sure you get a tight, wrinkle-free seal at the tip for a perfect and long-lasting manicure.
Step 6: File Off Any Excess :) Use the included nail file to file off any excess length. Trim the wrap with scissors first, and then use the nail file for the final finish. It is important to file only in a downward motion to avoid ruining the adhesive and letting dust and grit under your wrap. Pull away the excess wrap with a gentle tug.
Optional: Top Coat Our nail wraps have a beautiful high gloss finish, but if you want them to last longer than a week or make them even shinier, you can apply a top coat. We recommend Sally Hansen Hard as Nails Top Coat or Essie Platinum Grade Finish Top Coat. Cap your tips to make your wraps seal with your nail even better.
Extra tips!!
#1: Use a top coat to make your wraps last longer, but avoid using any quick-dry products as they can make your natural nails dry out faster. Sally Hansen Hard as Nails Top Coat or Essie Platinum Grade Finish Top Coat are great choices.
#2: Use a base coat before applying the nail wraps to protect your nails and help them adhere better. We recommend Orly Bonder Rubberized.
Last but not least: if you have any questions or concerns, feel free to contact us. We're always happy to help :)
Let customers speak for us
from 42 reviewsI’ve had so many compliments in my nails in the 2 days I’ve had them on. I’m not used to this!! I’ve come back to order another set of these ones.

Shipping was incredibly fast as was communication when I had a question.
I’ll be a repeat buyer
I am sohappy I discovered Nails by Aina. The colors are amazing and last 10 days easily and are super easy to apply.
I cannot enough about how fast the shipping was. Will be buying again for sure !

Apied like a charm and lasted for the week. Will order from Nails by Aina again

Our best sellers
-
Glossy Blush
Regular price $4.00 CADRegular priceUnit price / per$0.00 CADSale price $4.00 CAD -
Cabernet Couture
Regular price $4.00 CADRegular priceUnit price / per$0.00 CADSale price $4.00 CAD -
Blushing White Delight
Regular price $4.00 CADRegular priceUnit price / per$0.00 CADSale price $4.00 CAD -
Plum Passion
Regular price $4.00 CADRegular priceUnit price / per$0.00 CADSale price $4.00 CAD -
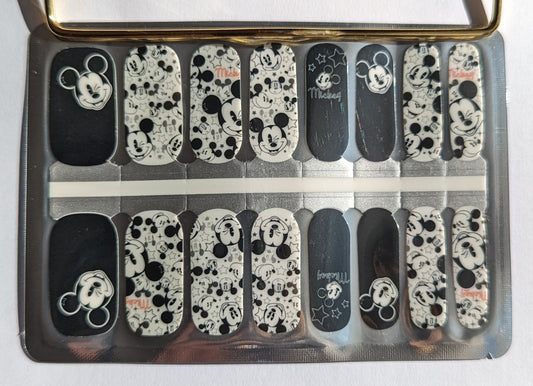
Monochrome Mickey
Regular price $4.00 CADRegular priceUnit price / per$0.00 CADSale price $4.00 CAD -
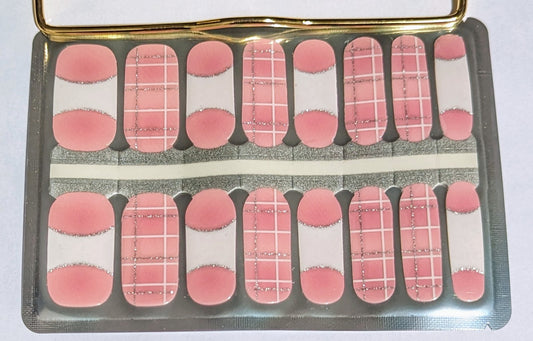 Sale
SalePink Diamond
Regular price $3.00 CADRegular priceUnit price / per$4.00 CADSale price $3.00 CADSale -
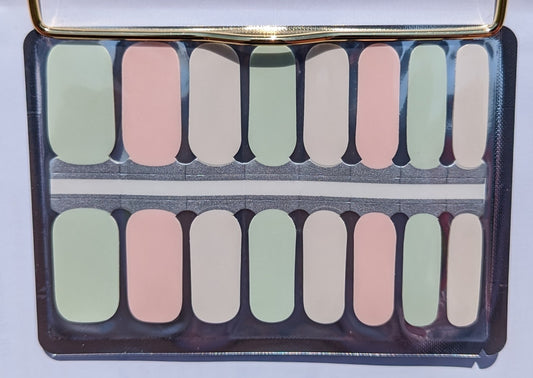
Chic Pastel Palette
Regular price $4.00 CADRegular priceUnit price / per$0.00 CADSale price $4.00 CAD -
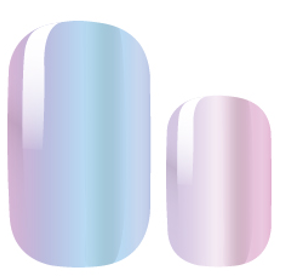
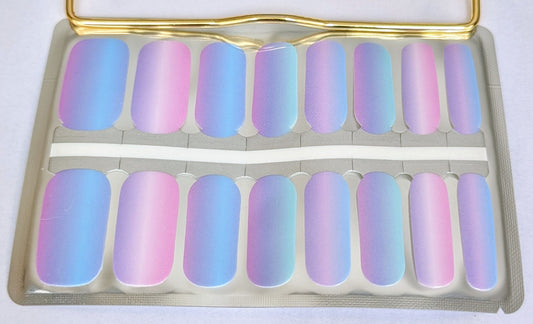 Sold out
Iridescent Haze
Regular price $4.00 CADRegular priceUnit price / per -
Sage Breeze
Regular price $4.00 CADRegular priceUnit price / per -
Ever After
Regular price $4.00 CADRegular priceUnit price / per


